Friday, January 30, 2015

Finally admiting my mistakes


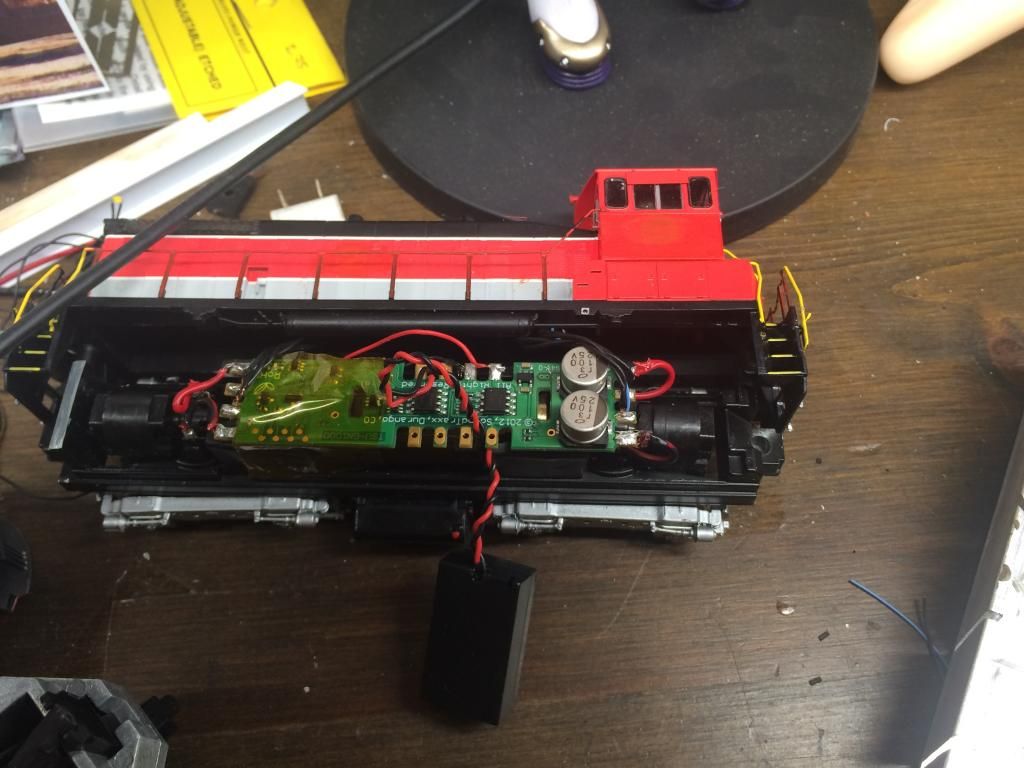
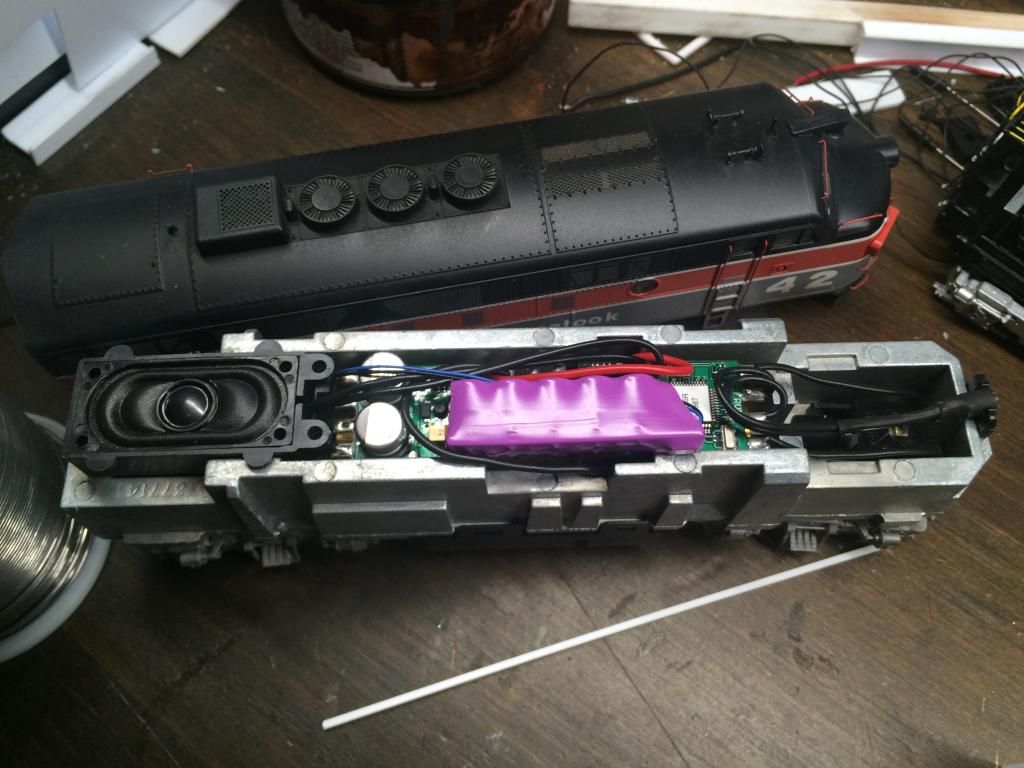
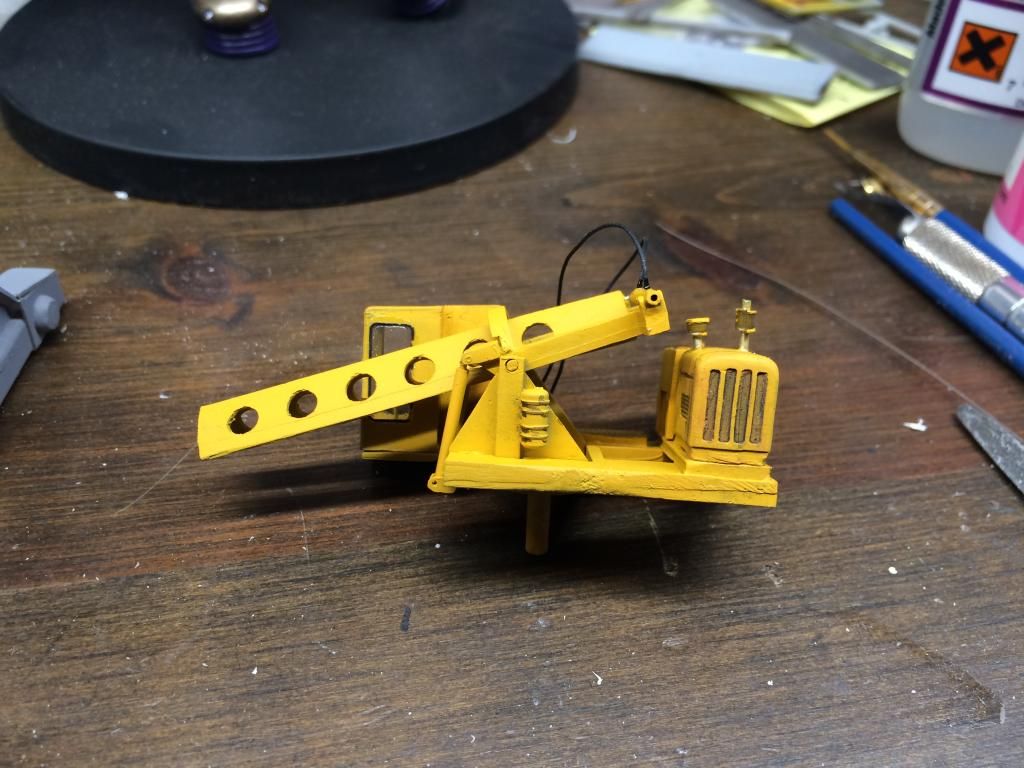
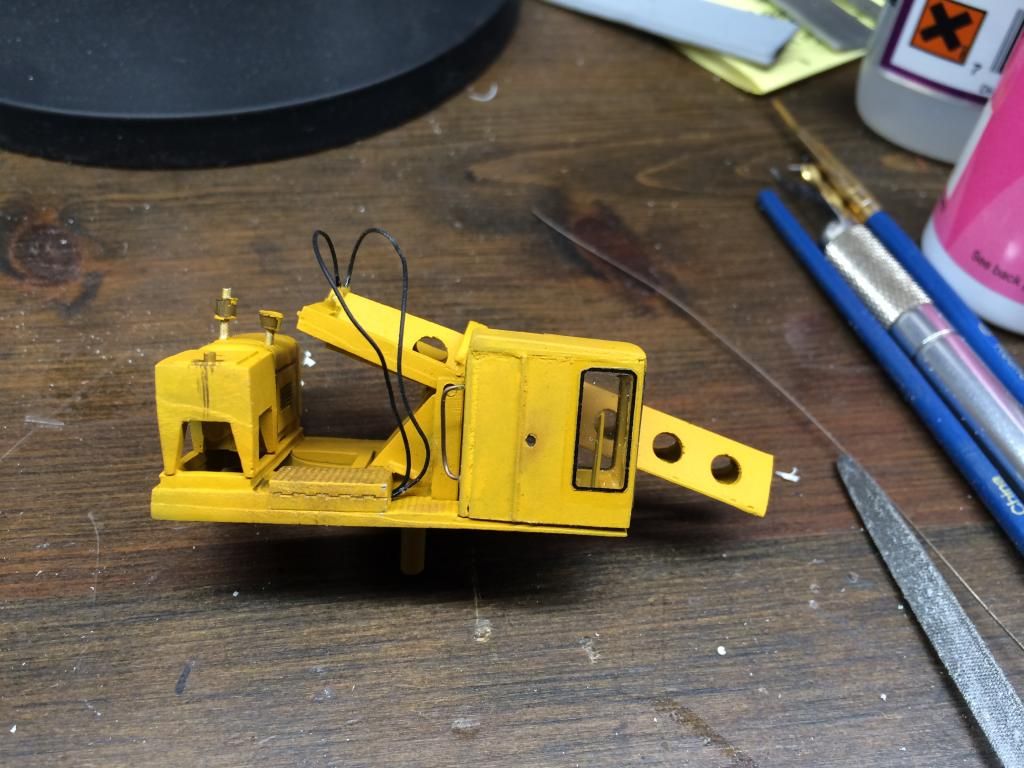
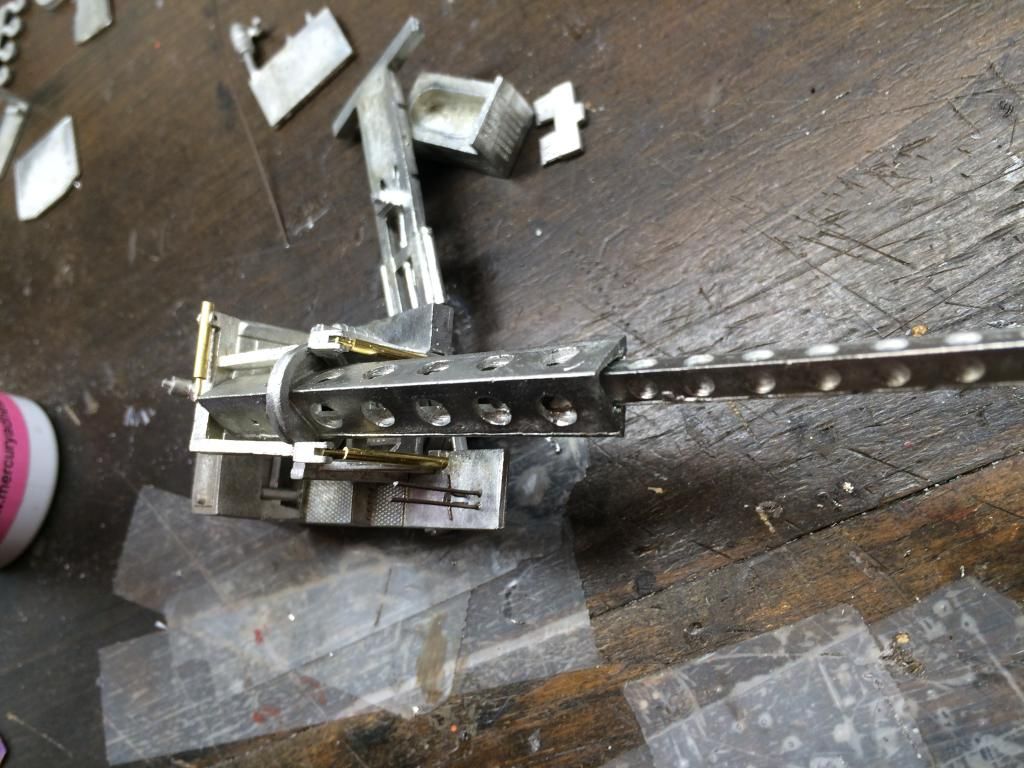
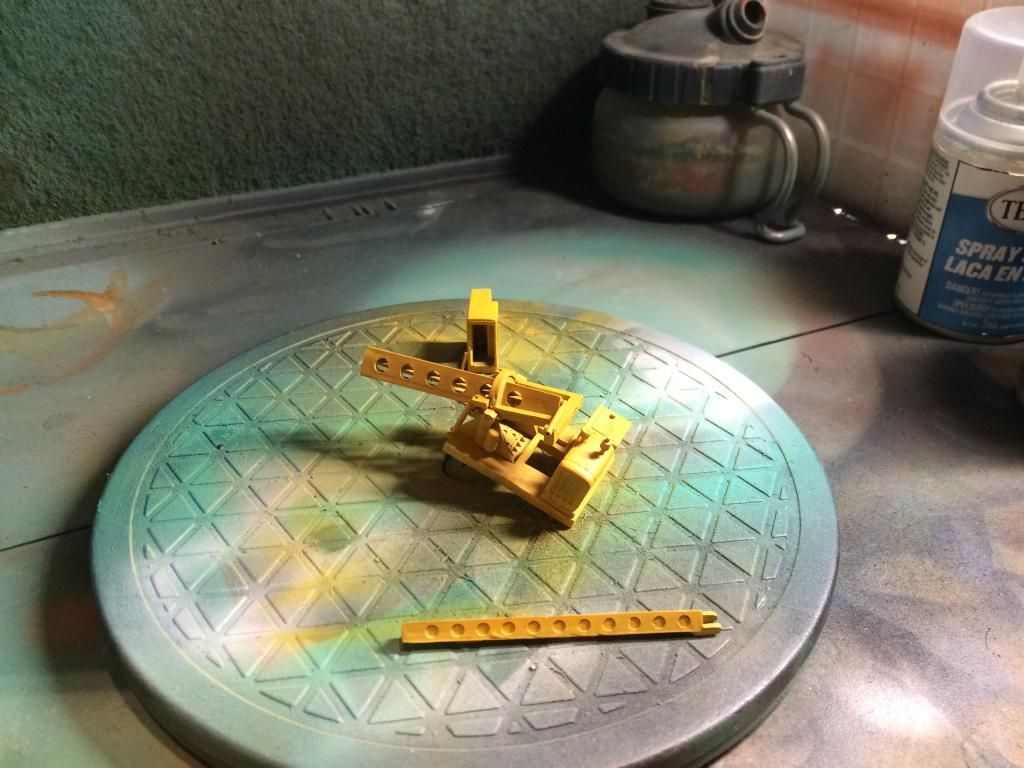
When we bought the new house, I had not had a real layout for over 10 years.  I was so excited to have space to build, I tore right into it.  I had all the supplies that I needed, room to build, and 6 months to wait on paperwork and licenses before I could start my business back up.
 
 
  I told myself to stud out the walls, insulate heavily, and put up sheetrock but, was in a hurry to run trains again and didn't listen to my common sense.  So, now, after spending more in 3 months keeping he layout at 40 degrees than it cost to heat my entire house to 68 for a year, I came to understand that I need to tear it all down and do the walls right.
 
 
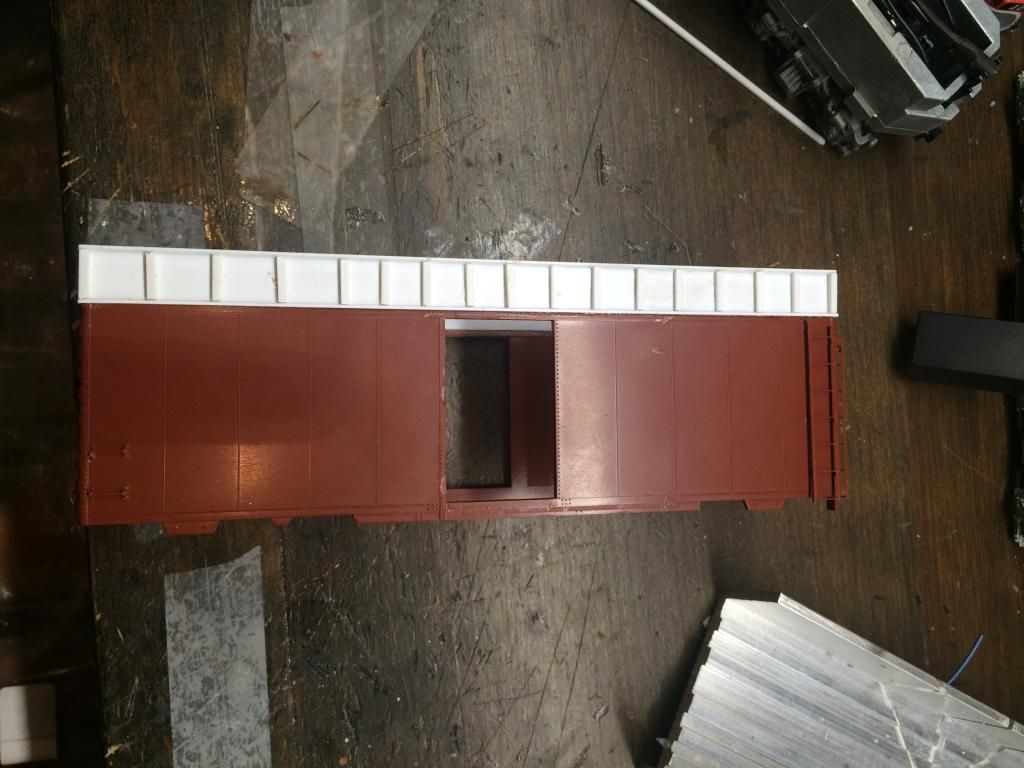
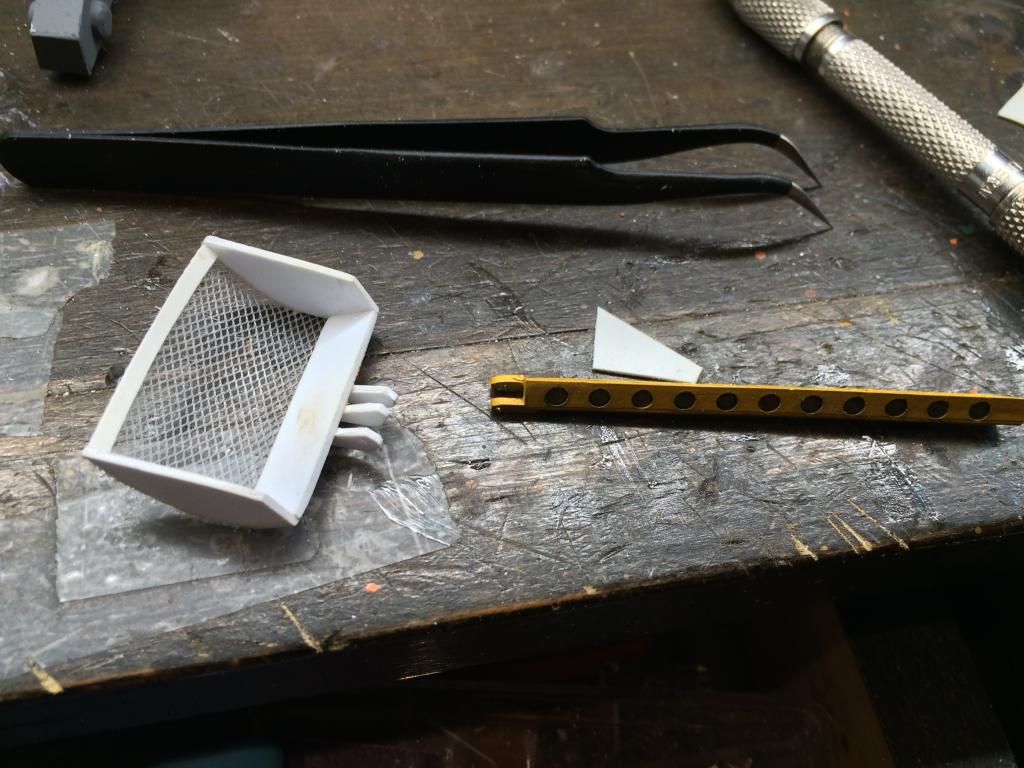
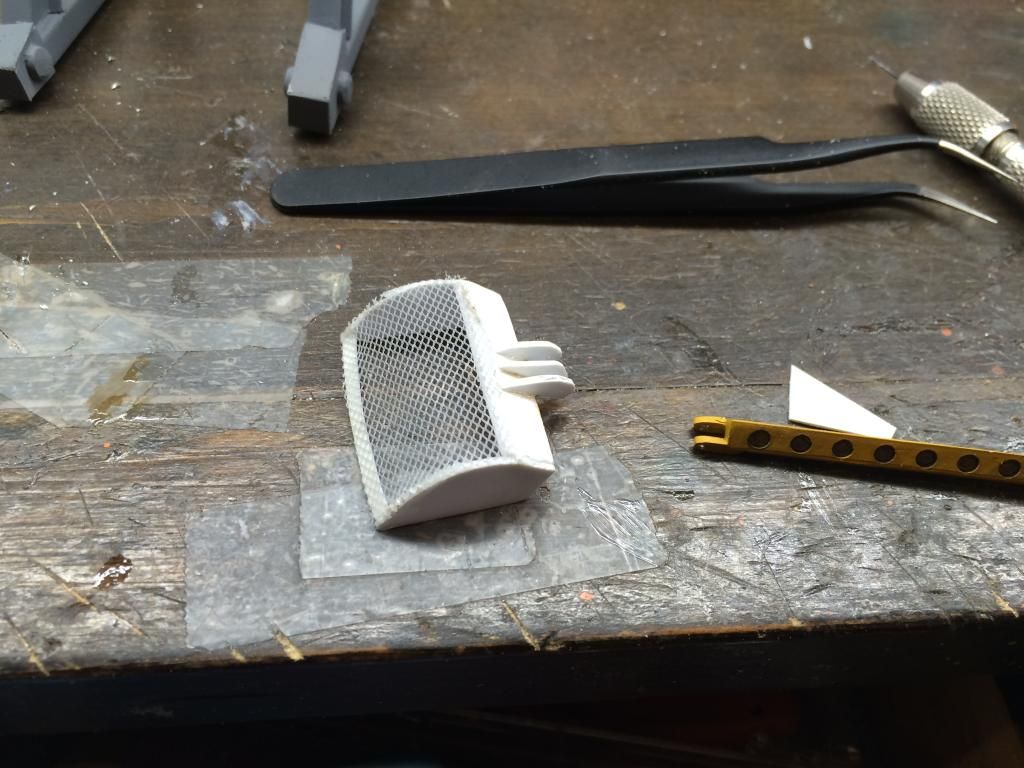
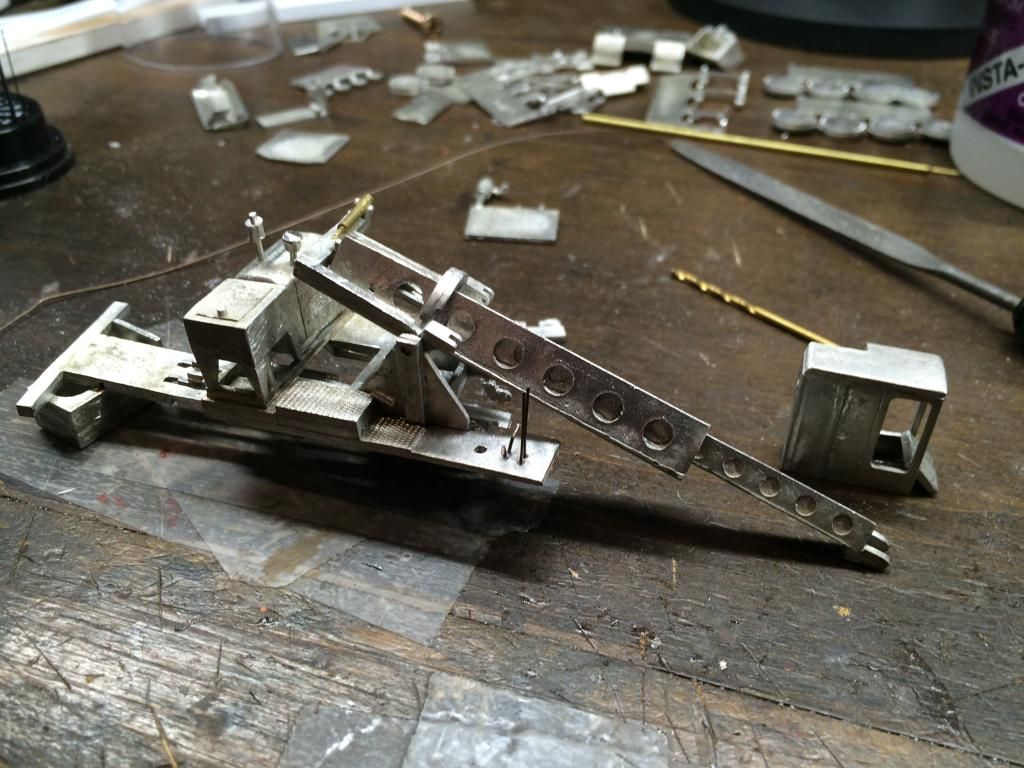
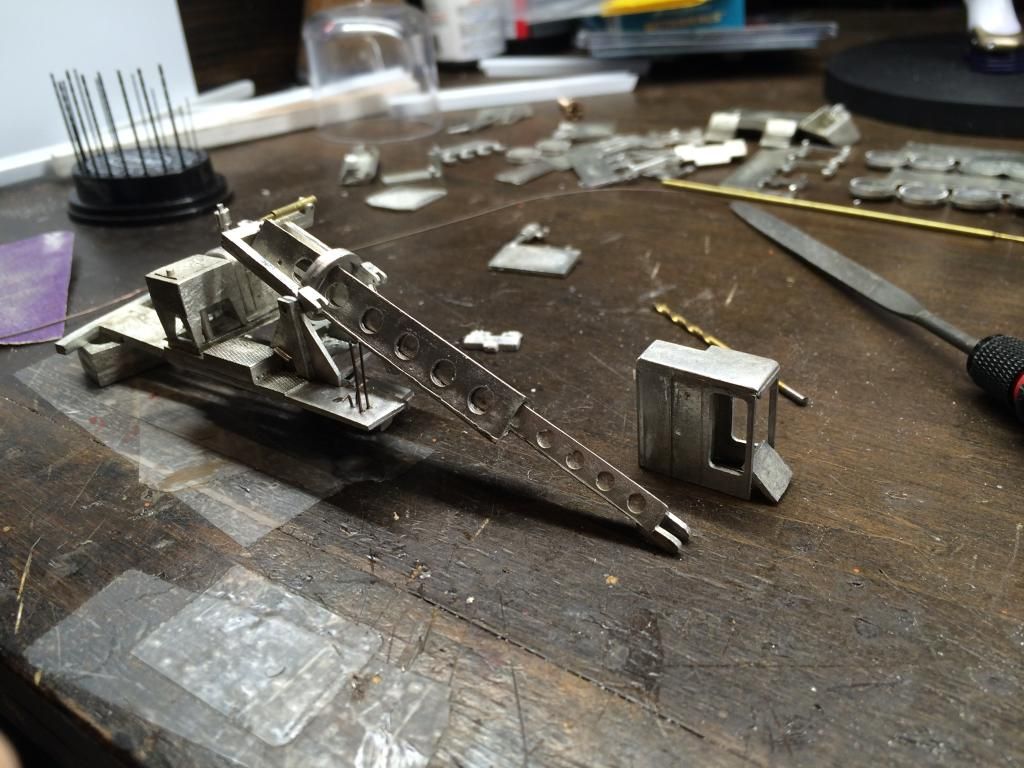
I plan on spending this weekend finishing up a few workbench projects and then packing up the rolling stock.  Next week, I will commence pulling the buildings and trees, salvaging what can be of the scenery, and demolishing the layout.
 

But, it's not all bad.  The renovation will almost double the size of the room.  I plan on sticking with the same basic industries and not expanding so much as stretching the trackplan's legs.  It will have about the same amount of switching, but will involve more travel between stations.  I have a very early plan sketched out.  Very, very early considering that the old layout is still operating as I type this up. 
 
 
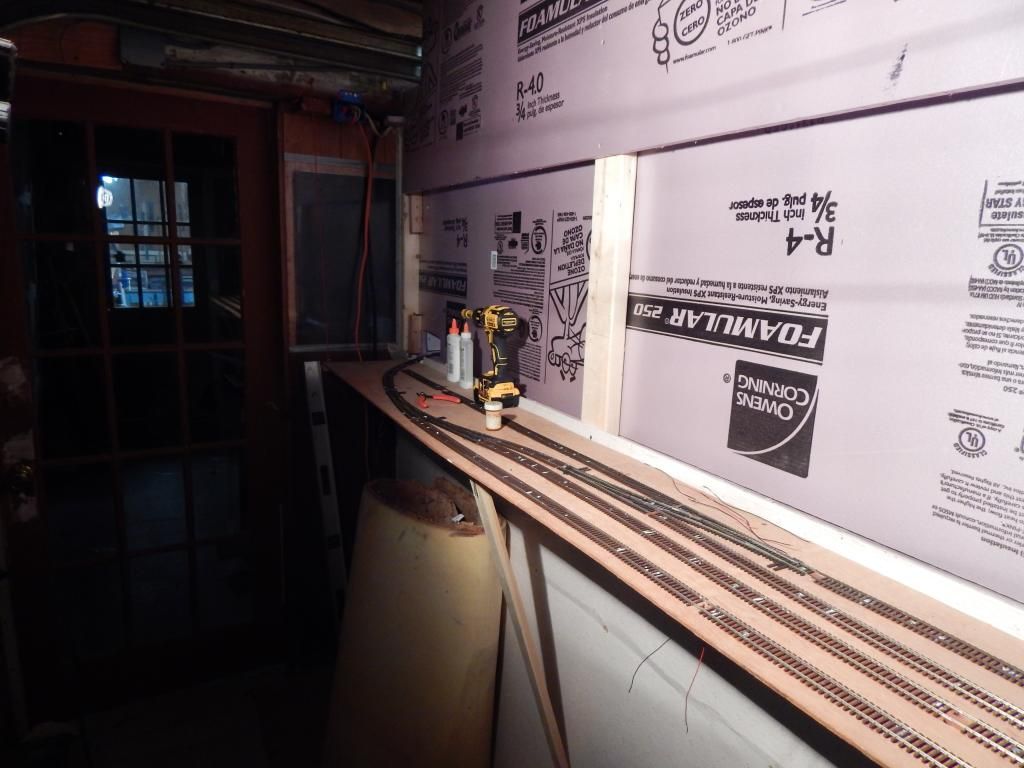
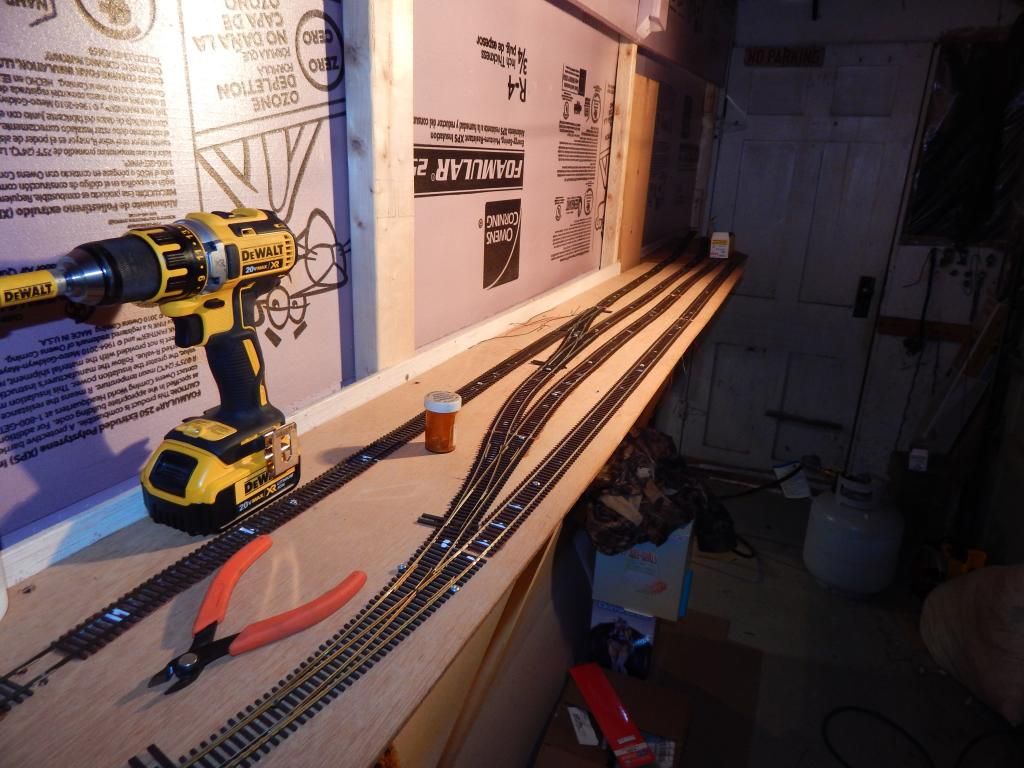
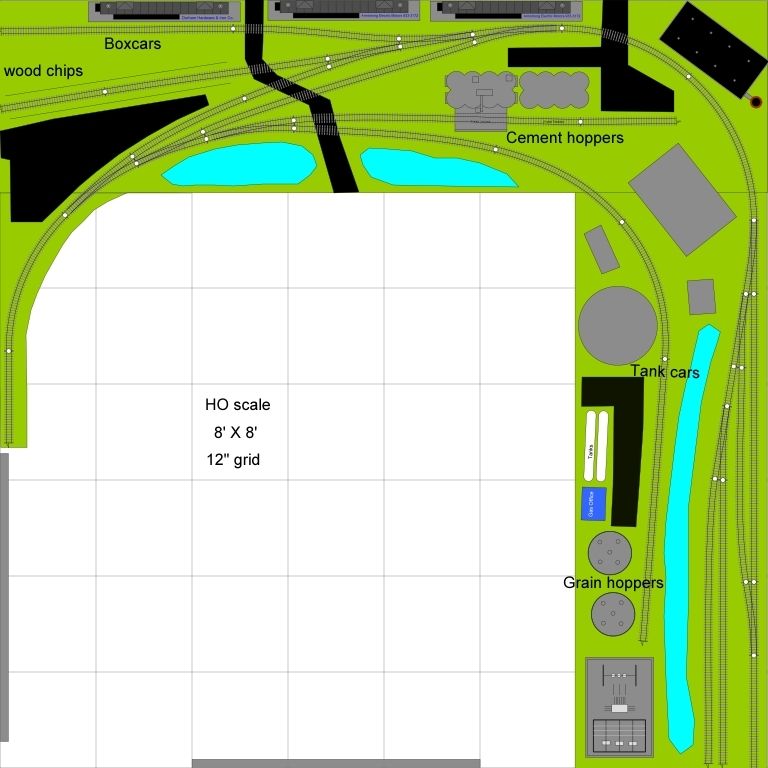
In the meantime, there will be plenty to blog about.  While the building is being renovated, I will be building a small switching puzzle layout in an 8X8 office inside the house.  Just need to decide if I will mount it to the walls or make it modular and super detail it to take to shows.


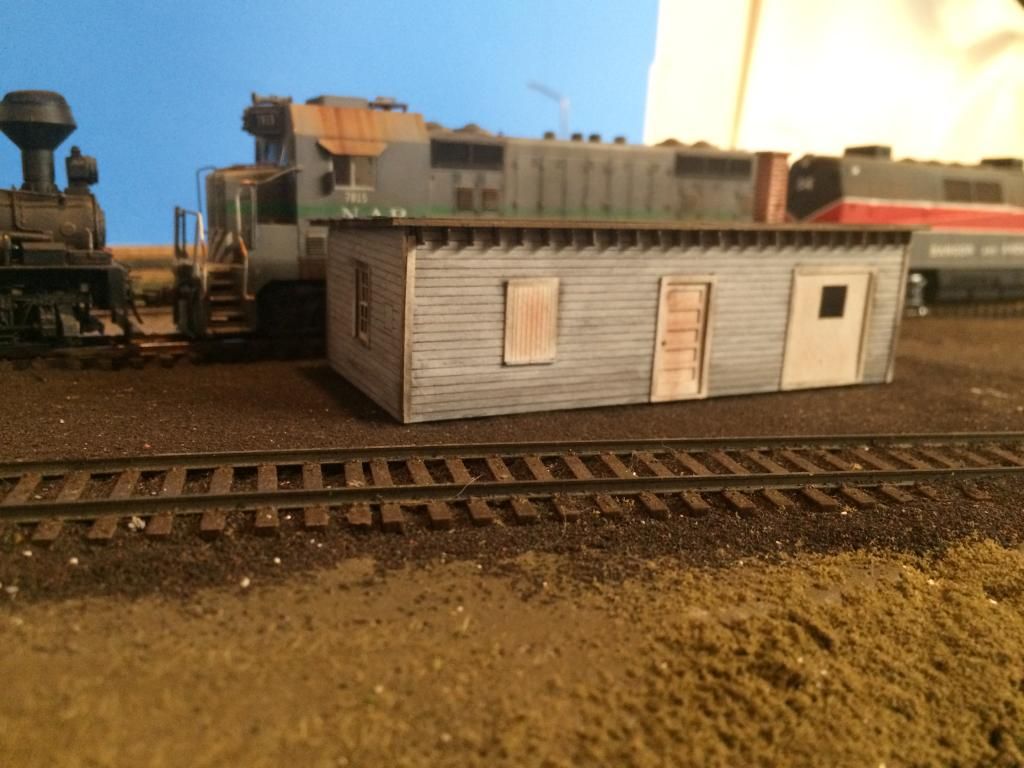
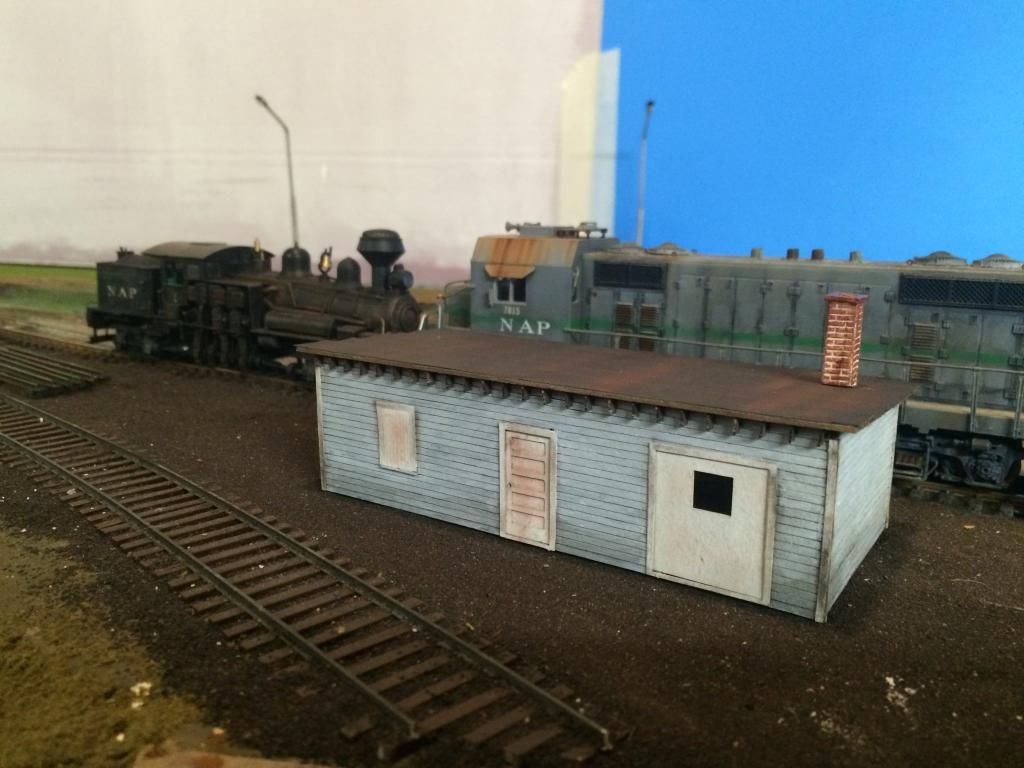
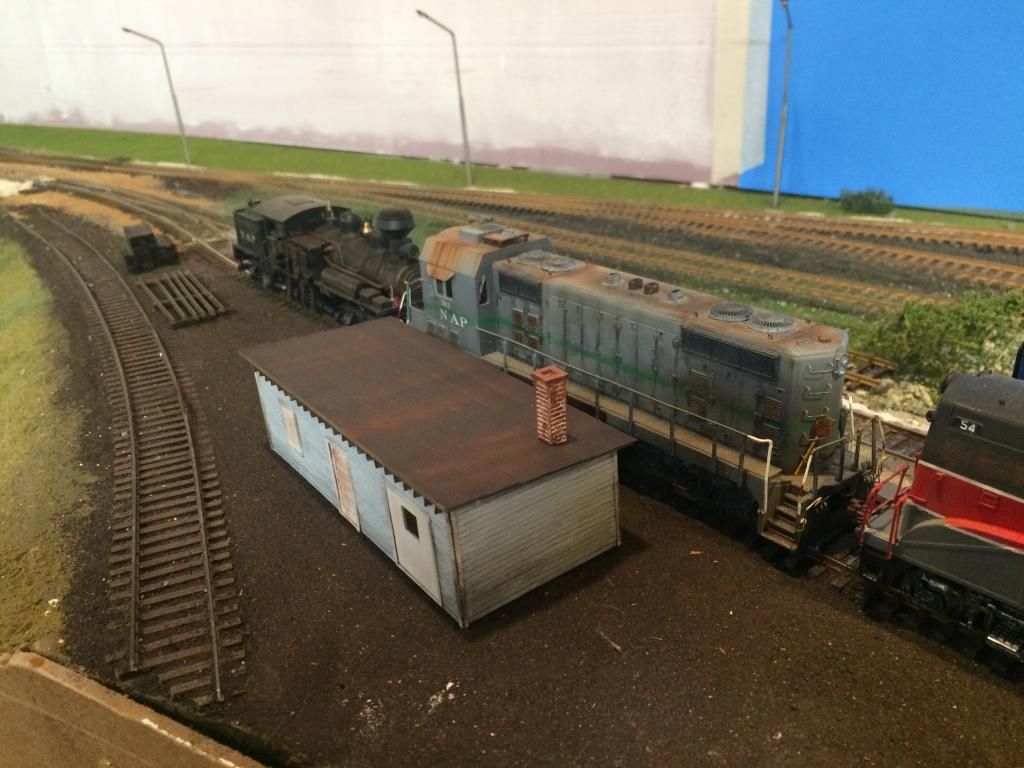
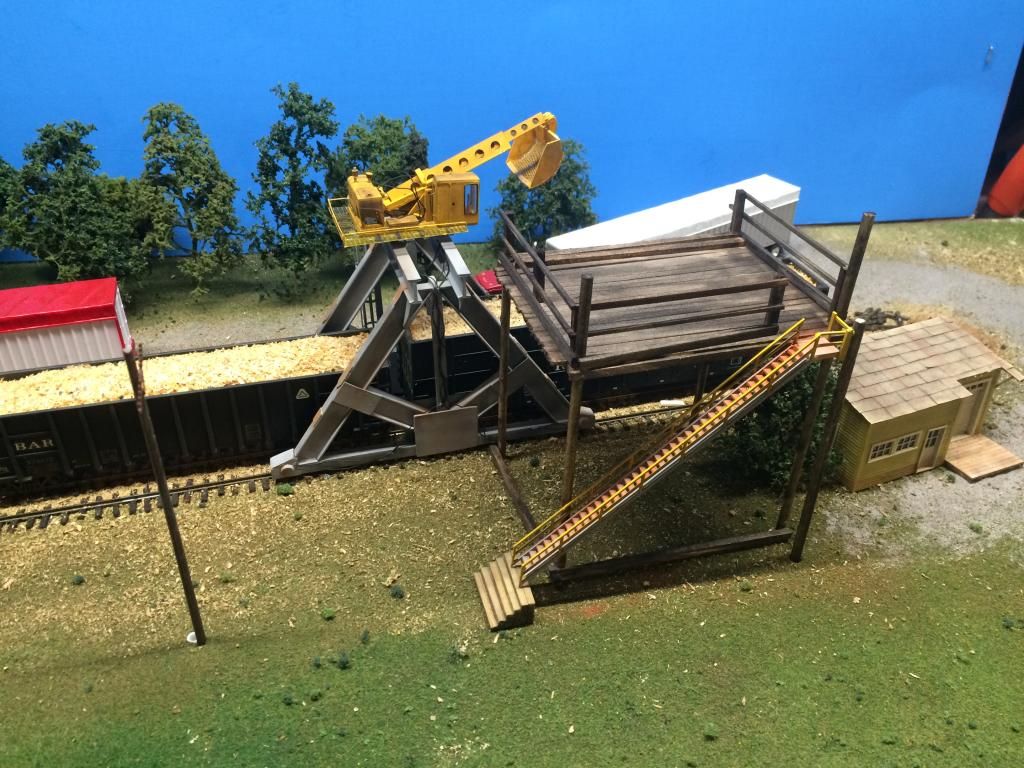
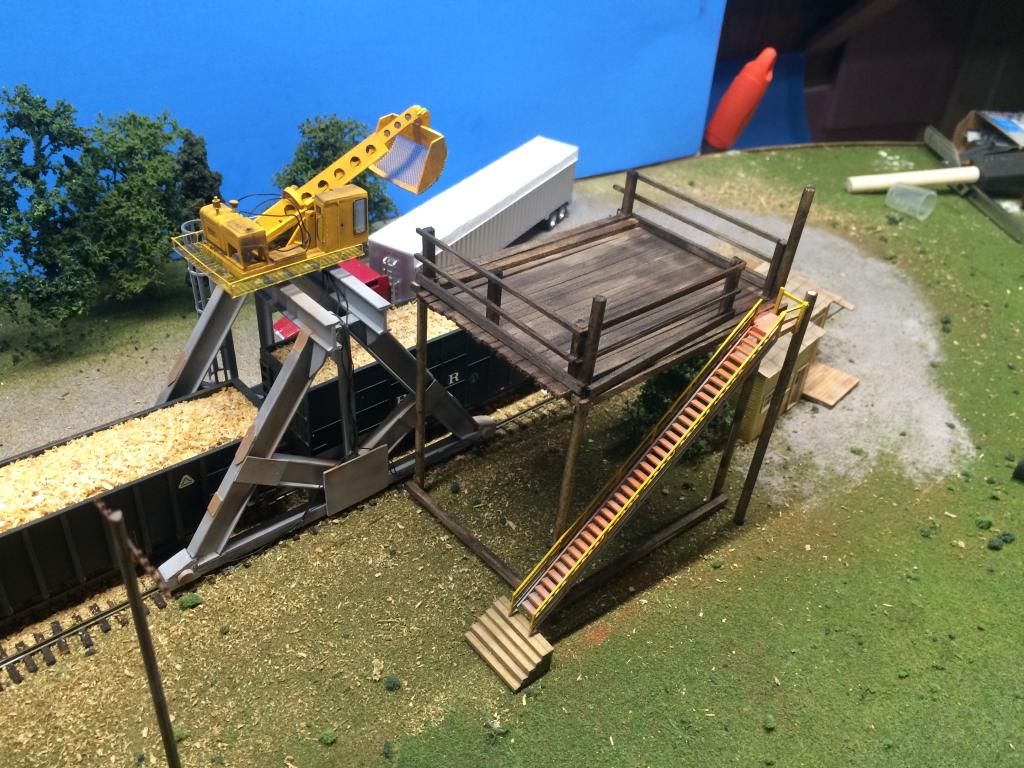
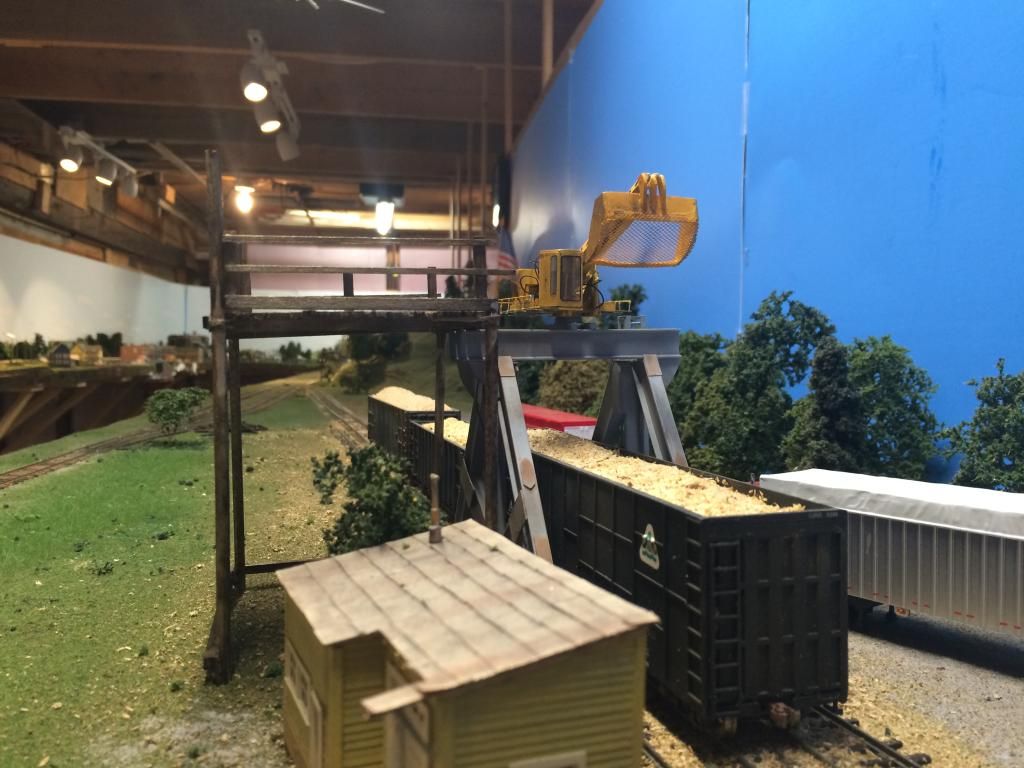
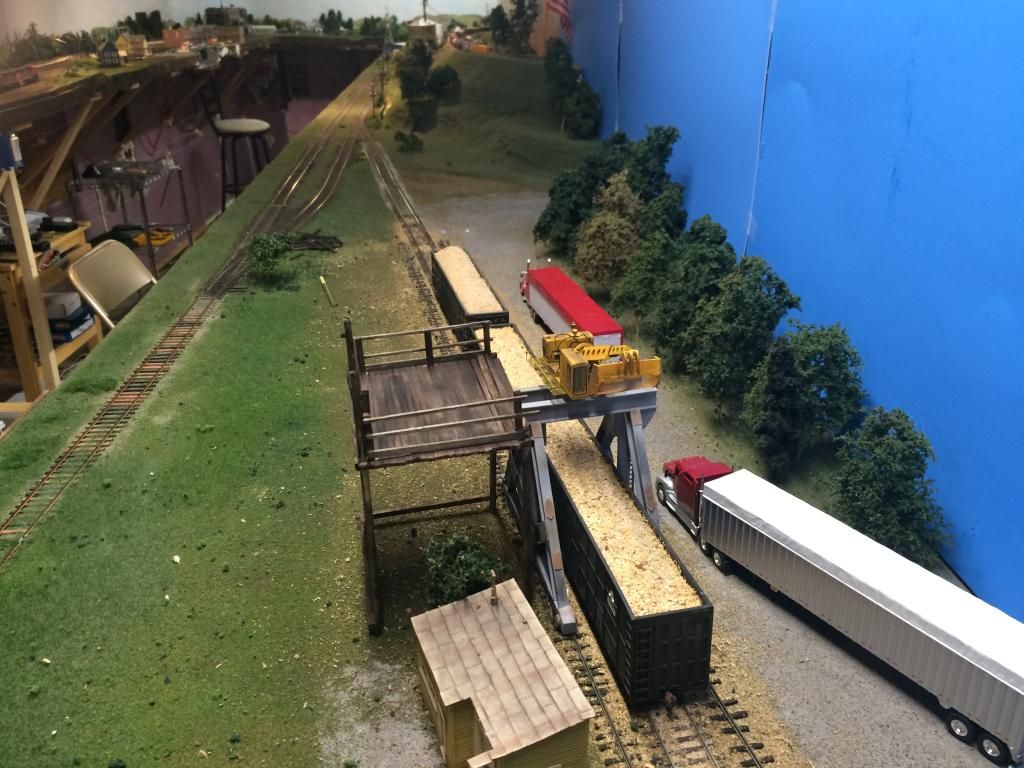
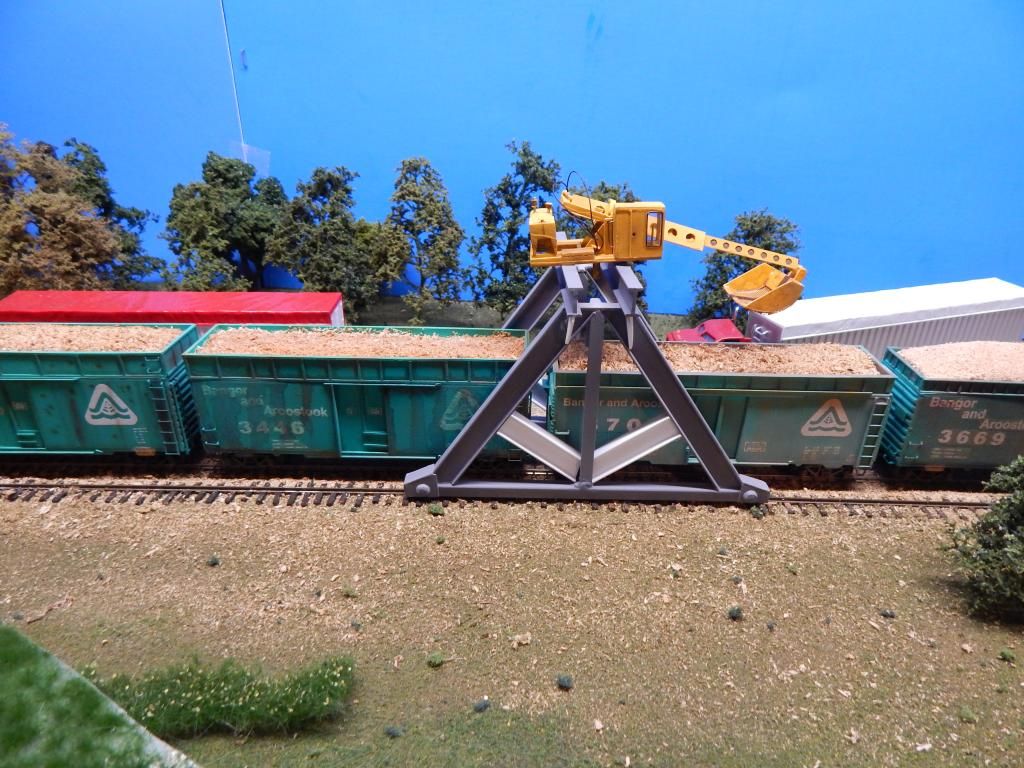
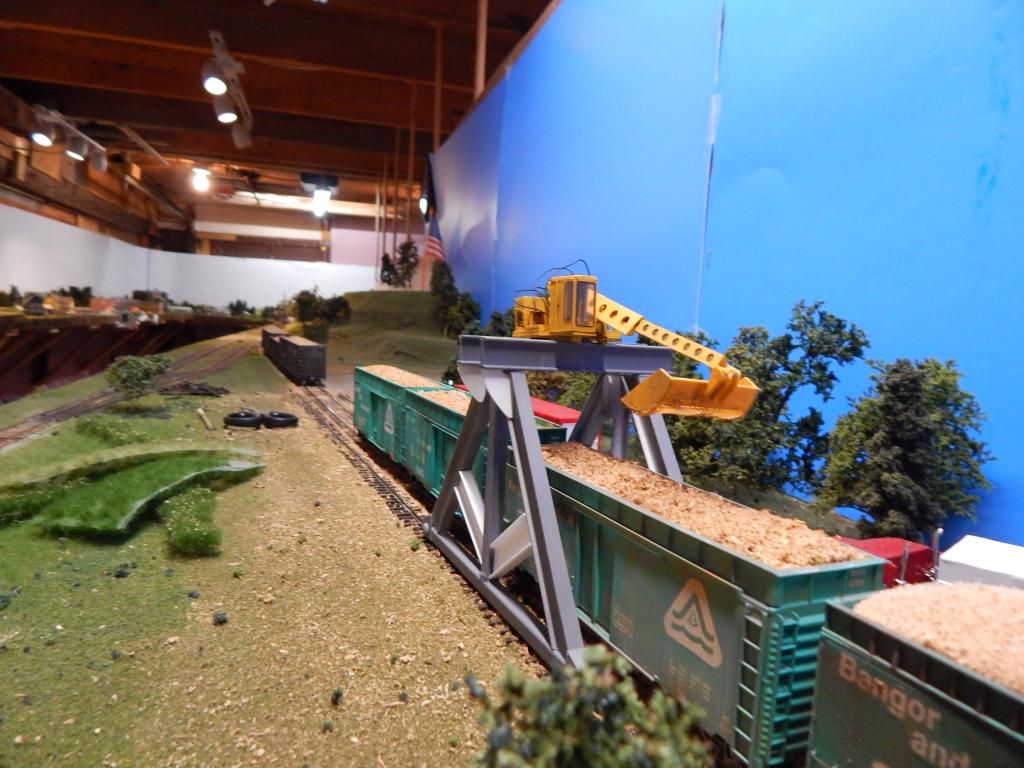
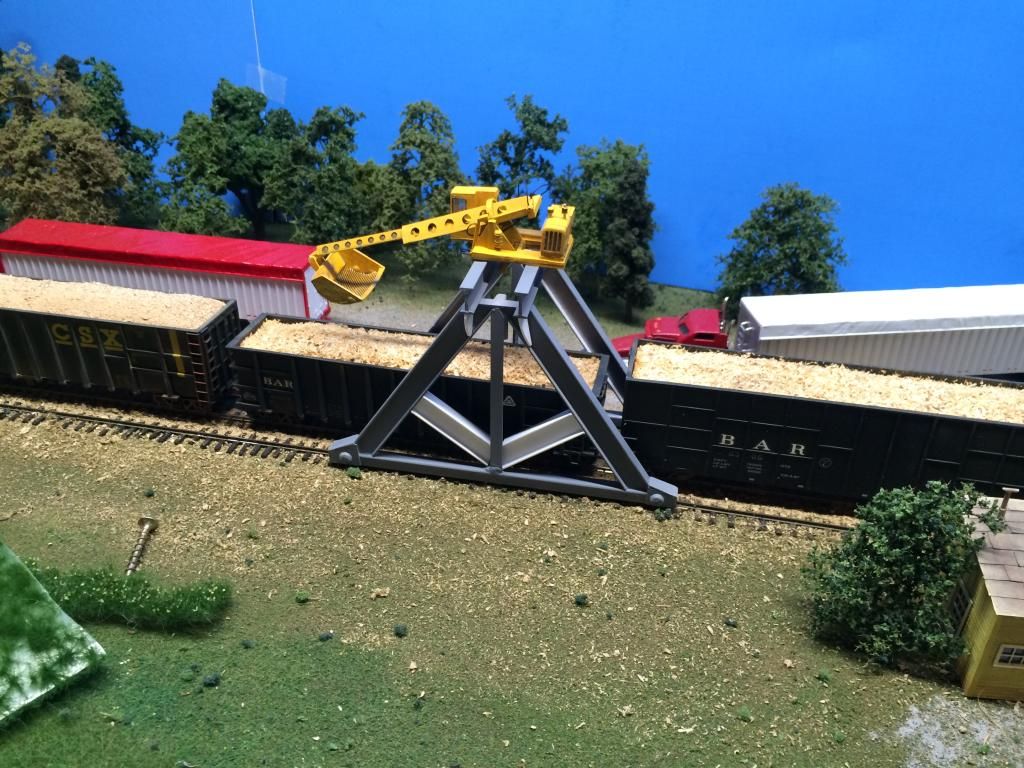
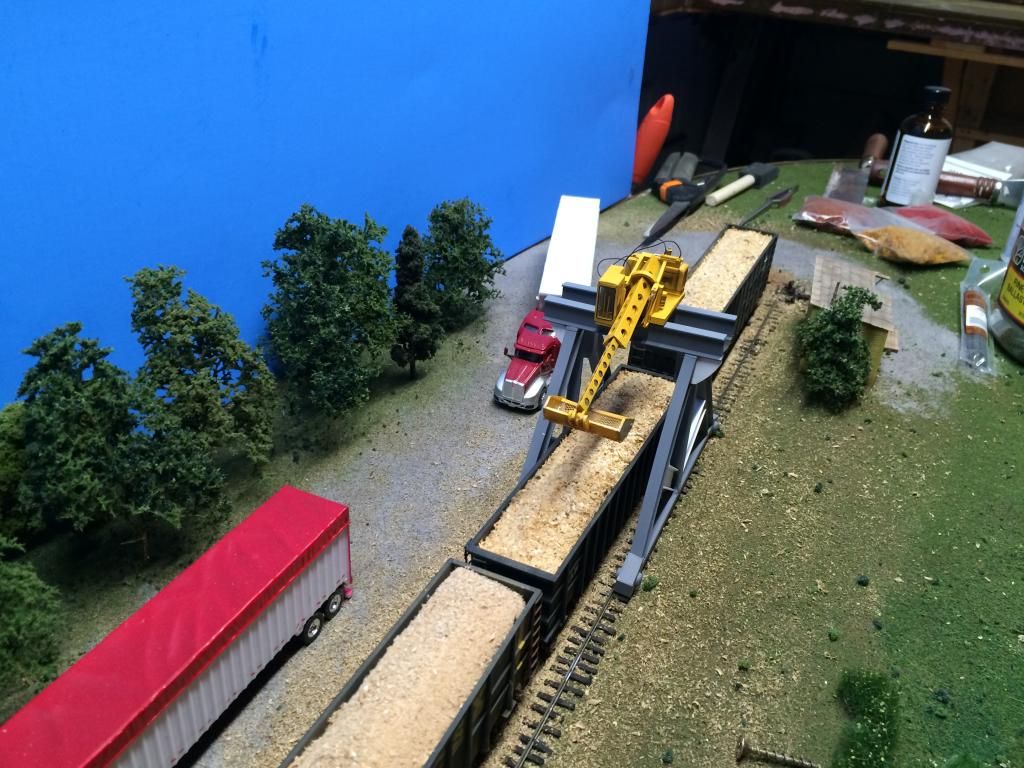
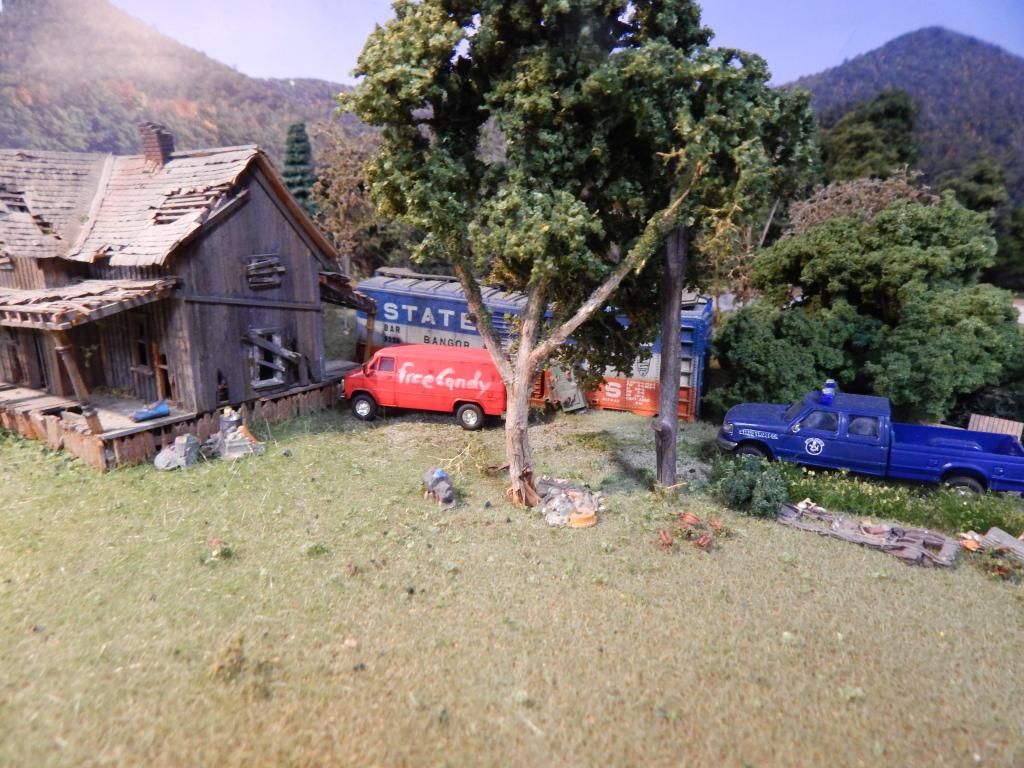
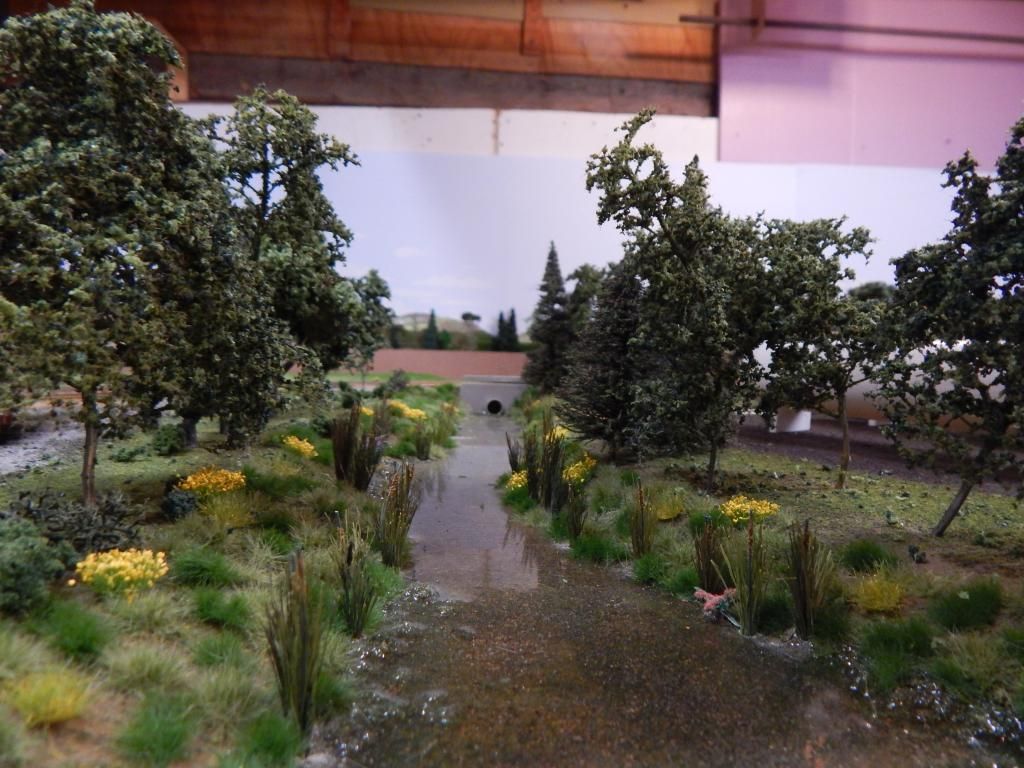
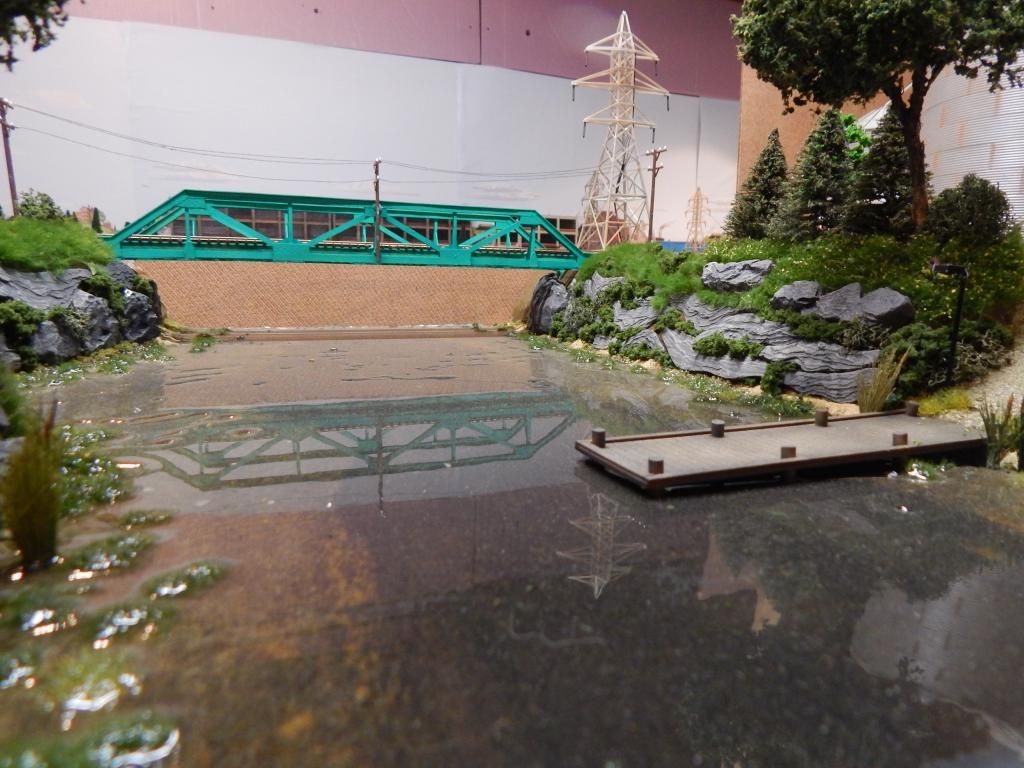
I am pretty disappointed because I am happy with my current layout.  It is 95% done and it's a very enjoyable afternoon to operate the 3 trains that it takes to switch all the industries.  It can't be helped though.  With it being so cold for so much of the year up here, I have to fix this or it will bite me in the ass every year.  
 
Thanks for stopping by and reading my thoughts and looking at all the pictures.  Look for pictures of the destruction soon and then the start of a new blog not only for the small switching layout but, for the new and improved Bangor & Aroostook.

Tuesday, January 27, 2015

DCC and sound installs (almost)

Spent some time working on getting DCC, sound, and a keep alive in the SW1500 that I am working on today.  I can't seem to quite get everything to fit in and get the shell all the way on.

The keep alive is in the cab.  My next try will be to put the speaker in the cab as well.  If that doesn't work, I will have to get a smaller speaker to try.  I also installed a current keeper in the last F3 in the fleet without one.  I figured the install would be the same as all the rest, but since this unit is a Bowser, I was wrong.
 
 
All my other F units had plenty of headroom to simply drop in a current keeper with no modification.  This Bowser unit does not.  Tomorrow, I will lengthen the leads so that I can try to fit it in the cab area. 
 
I put the extension on the next wood chip hopper conversion for the fleet.  I tried something a bit different this time.  I used U channel for the extension instead of flat styrene.  I think it looks just as good and was a lot easier to work with.
 
 
That's it for today.  Thanks for stopping by and come back soon!

Monday, January 26, 2015

small update

Spent some time over the weekend working on a wood craftsman kit from CGLaser.  I saw this kit as a perfect tool storage house for the MOW yard.  It went together quickly, though some construction was very difficult due to certain parts (windows, doors, etc) being laser cut paper. 
 
 I have a hard enough time working with very fine wood and plastic details, having to use magnifying goggles to work with some, but having the pieces be razor thin slices of paper was quite frustrating. 

I am happy with how it came out though.  It will do it's job well.
 
That's it for today.  Thanks for stopping by and come back again soon!

Sunday, January 25, 2015

Stairs

I have only been in the layout room a little bit the last couple days and have spent most of that time simply staring at the hidden staging yard trying to figure out why it came out so much shorter than in the plan....  In between running the mill job and a local, I did sit down to work on a set of stairs for the platform on the wood chip un-loader.


I think for the first time in the 30+ years in model railroading, I am giving up on a project and selling it to cover my loss as much as possible.  This spring I purchased a pair of early run Kato SD40-2 painted for Canadian Pacific.  These drives were apparently plagued with poor pickup problems.  The internet has many articles on how to improve these locomotives and the forums that I frequent provided great ideas on how to fix them up. 
 
The bottom chassis in the above picture is the stock configuration. I have tried 3 different methods of  modifying pickup from the trucks to the decoder to no avail.  Both still stall constantly, even on flat and level track.  Now, one of the tsunami sound decoders has apparently failed. It won't respond on the layout or program track at all.....  I have never been so frustrated with a project.  I guess they will head back to the dugout for a bit while I decide to try again or send them off to the auction site.
 
That's it for today.  Thanks for stopping by and come back soon!


Thursday, January 22, 2015

Almost done

I painted and weathered the traveling base today.  I also added the hydraulic hoses running to the drive motors. 


The platform still needs a set of stairs and details such as oil drums and lights.  The stairs arrived today and the appropriate lights are on the way.


That's all for today.  Thanks for stopping by and come back again soon!

Wednesday, January 21, 2015

Paint and stain

I sent the little lady into Hobby Lobby after she got out of class yesterday to get the strip wood that I needed to finish the railings on the wood chip un-loader platform.  Got it glued up last night.

And then put down some stain today.  It needs some touch up that I hope to get to this evening after the shop closes.
 
Finished up the gussets and patches on the traveling crane and tossed on a base coat of grey.  Weathering and hydraulic lines are ready to go on.

That's it for today.  Thanks for stopping by and come back again soon!
 

Tuesday, January 20, 2015

projects and progress

We had a couple warm days so I spent some extra time in the layout room.  I worked on the platform for the wood chip un-loader.  I have run out of strip wood and will have to put this on hold until I can make the hour long trip to the nearest shop.

I also started putting a few details on the traveling crane part of the un-loader.  Some gusset plates and patches.  Finish up these and a coat of paint, then I can string the hydraulic hoses.
 
I also dug out a SW1500 that has been hiding in some boxes of stuff I figured I would never use and started to do a DCC and sound install.  The decoder and speaker are in and working fine, but I am waiting on a keep alive to arrive in the mail to finish the project.  This was a "what if" project that I toyed with a few years back to see if I could make a feasible prototype that never existed.
 
 
The paint that I had at the time was not an exact match for the BAR colors, but with some weathering, I think I can bring this "what if" locomotive to life.  If I can find where I put the fuel tank....
 
That's it for now.  Thanks for stopping by and come back again!

Saturday, January 17, 2015

switch stands

Sorry for the lack of updates.  What little time I have had in the layout room has been spent running trains to test out the new staging yard.  Basically, it's too short.  I can't store the length of trains that I need in the room that I have.  I will have to rethink the idea for awhile.  I did, however, spend a bit of time working on building some switch stands.


They still need paint and weathering, and I have about 20 more to build.  They are designed to have the target rotate when the switch is thrown, but I don't have plans to hook them up yet, just to sit in place and look good.

Thanks for stopping by and come back soon!
 

Monday, January 12, 2015

Un-loader progress

I put etched metal catwalks and brass hand rails on the un-loader today.


I also started on the maintenance / mounting platform.


Thanks for stopping by and come again soon!


Friday, January 9, 2015

Staging yard and wood chip un-loader

It's been a struggle just to keep the layout above freezing the last few days.  I feel a bit ashamed that I didn't get the heat situation settled in the new house before winter set in.  I have lived in the cold my whole life and should know better. 
 
I finally got around to setting up an off layout staging yard. 


It's not pretty, but then it can't be seen from the layout and it doesn't need to be pretty to just hold trains.  2 in system, 1 off system, and a passenger train will be staged here.  My small collection of steam locomotives will also live here for use with the occasional tourist train.
 
The LaGrange wood chip un-loader is nearing completion.  The base still needs some paint and details, the service platform needs to be built, and the Gradall needs some handrails.  Here are a few pictures of it at this stage of completion.


Thanks for stopping by and come back soon!


Monday, January 5, 2015

Wood chip un-loader progress

Here is the latest progress update on my wood chip un-loading project.  It's coming along well.


I couldn't find a bucket that I could kitbash to match, so I scratch built one.


Here is the scene where it will live.  It still needs some hand rails, a few more hydraulic hoses, and the platform to climb on and off of it, but it's coming together.
 

Thanks for stopping by and come back again soon!
 

Friday, January 2, 2015

unloader progress

Here are a few pics of a bit of progress that I have made recently.  It's mostly building the Gradall to sit on top of the traveling crane.  It's coming along well though.


Still have the hard parts left.  Running all the hydraulic hoses and scratch building the right bucket.  Then the rest of the paint and it will be ready for work.
 
Thanks for stopping by and come back soon!